

If you’re the type of person who derives a particular kind of satisfaction from seeing sad, past-it bits of machinery cleaned up and brought back to life, then chances are excellent that you’ll appreciate this Honda C90 Cub carburetor restoration timelapse video. It’s short (just over two minutes long, in fact), it’s sweet, and shows you the broad strokes of remedying years of wear, tear, and gunk with a little bit of TLC and a whole lot of cleaning.
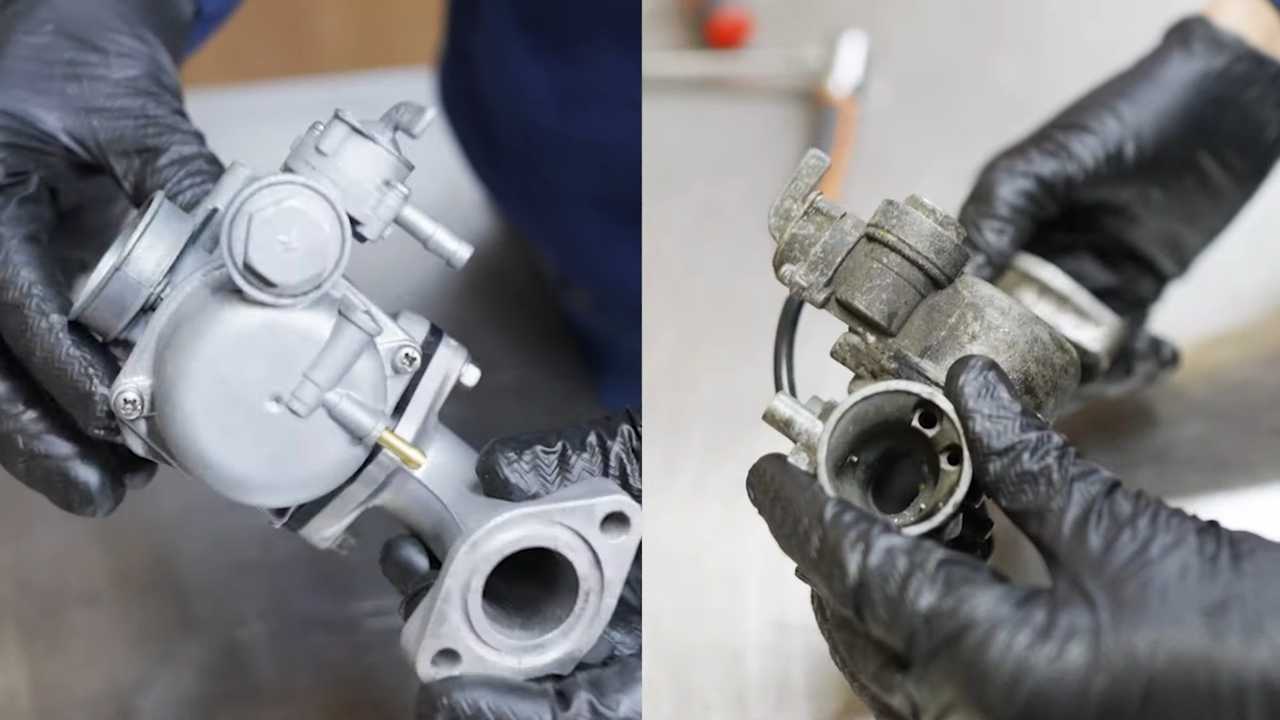
At the start, we don’t know how old this little Keihin unit is, nor what kind of life the bike it’s normally attached to has been living. However, it’s plain to see that it’s a bit the worse for wear. It’s totally filthy on the outside, and probably also on the inside, as well. The only way to clean everything up is naturally to take it all apart and get a clearer view of the situation at hand. With the C90’s enduring popularity, rebuild kits for this carb are readily available, so that’s at least one less headache to worry about if that's the unit you’re handling.
The guys at Race and Retro, who are undertaking this job, are experienced—but if you’re not, it’s an extremely good idea to take photos of where everything goes before you take it apart. Having visual indicators can be extremely helpful when you go to put things back together—and that’s especially true if you’re dealing with a situation where you have the same screw head size, but different lengths of screw that go in specific places. Knowing that the long one goes in the upper right corner, not the upper left corner, can save you much time and frustration later on. The pictures don’t have to be museum-quality; just grab your smartphone out of your pocket, snap a few shots in focus, and go on with the project.
Delicious Carbs:

The inside of this carb doesn’t look particularly awful, which is nice. It could still use a good cleaning, though, so it’s time for everything to come apart. Taking the time to lay out the jets, the float, the screws, the gaskets, and the whole assembly in pieces isn’t only something to do for aesthetic purposes (although we totally admit, there’s a certain satisfaction in seeing it all nicely laid out).
Assuming that you have decent lighting over your work surface, it’s also a good way to be able to assess the level of work you need to do next. What needs cleaning? What needs replacing? Is there anything missing? These are all especially important questions to ask if the carburetor in question is an unknown quantity—in other words, one that you haven’t personally worked on before.
How you ultimately clean your carburetor is up to you, your available tools, and your personal preferences. You could use tried-and-true carb cleaner, as people have been doing pretty much since carburetors have existed. You could be like Race and Retro here, and use a vapor blaster if it’s available to you. Ultrasonic cleaners are also a great option, especially if you know you’re going to be doing a lot of this sort of thing in the future (and as a bonus, they can clean your eyeglasses, too).
No matter what method you choose, the entire point is that it gets you to a nice, satisfyingly clean carburetor in the end—ready to be installed back on the bike so you can fire it up once more. If you’ve been looking for a little carb-cleaning inspiration to kickstart your next workbench session, hopefully the visual satisfaction of seeing how nice and clean this one turns out can help.